How to cut open a ham
When buying a piece of ham to enjoy at home, whether it's serrano ham or iberian ham, the first thing that might come to mind is "how to open a ham". Which part should you start with? How do you position it in the ham holder?
Depending on the occasion, you need to position the piece in the ham holder in one way or another, and we don't want to get it wrong. If you've already purchased your ham and are ready to start savoring it...
Here's a practical guide to help you learn how to do it!
Parts of the Ham
There's no single correct solution for how to open a ham, and to understand this, you first need to grasp each of the parts that influence the process. Each leg has three main areas: the "babilla," the "maza," and the "contra maza."
- Maza: This is the widest part of the ham, where there's more meat, and its flavor is more tender. The slices obtained from this area are very juicy.
- Contramaza: This part is situated just below the maza, and its taste is very similar.
- Babilla: This is the area opposite the maza, and because the meat is closer to the bone, it cures faster. The bone helps accelerate this process. Its flavor is very intense, and the color of each slice will be darker. Additionally, this part has the least fat.

Parts of the ham
How to Open a Ham if You're Going to Eat It Quickly
Now that we know the parts of the ham and understand that the taste of each part is different, let's see how to begin. The maza meat is juicier and is usually eaten first.
In ham shops, bars, and restaurants where skilled ham cutters are constantly slicing the pieces, they start by cutting the ham from this area to serve these slices first. Since the ham will be consumed quickly, when it's time to turn the piece around, the "babilla" will still be in its optimal condition for consumption.
If you've bought an iberian ham for a special occasion and there will be many people gathering, as in Christmas or some anniversaries or events with many guests, you can also start with this area for the same reason. Your piece will be delicious, and before you know it, there won't be a single plate left!
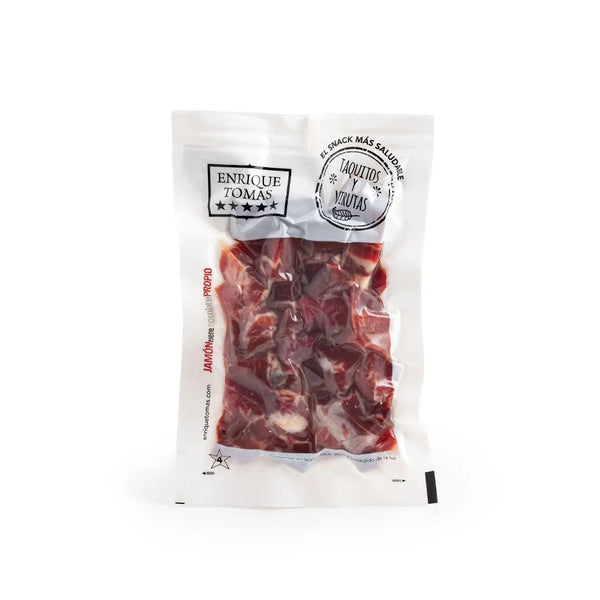
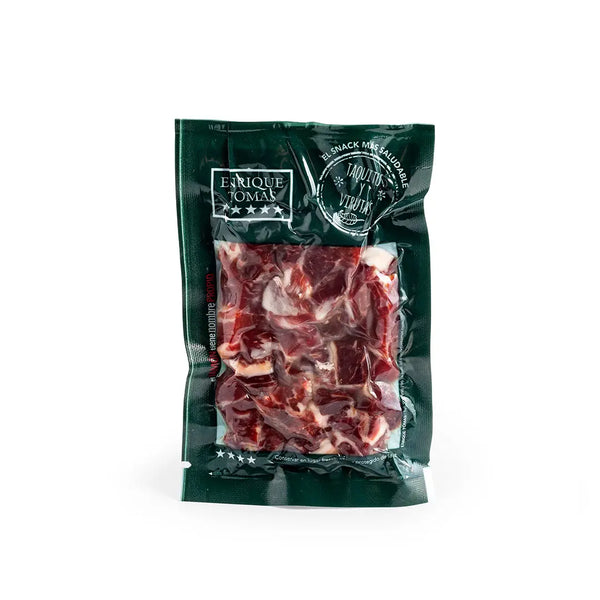
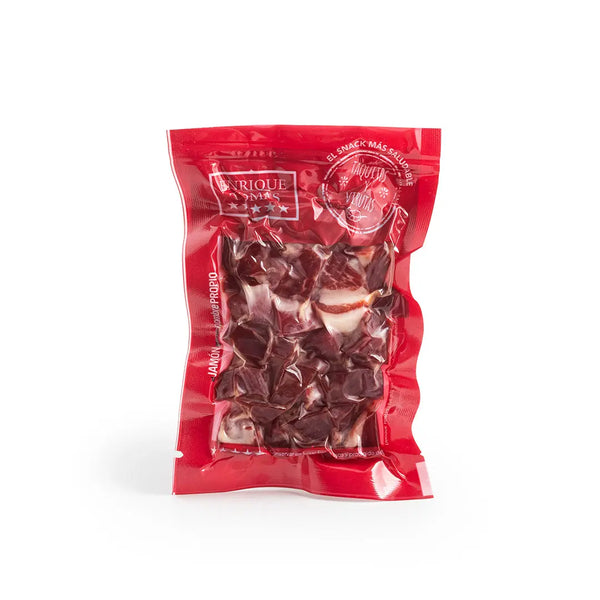
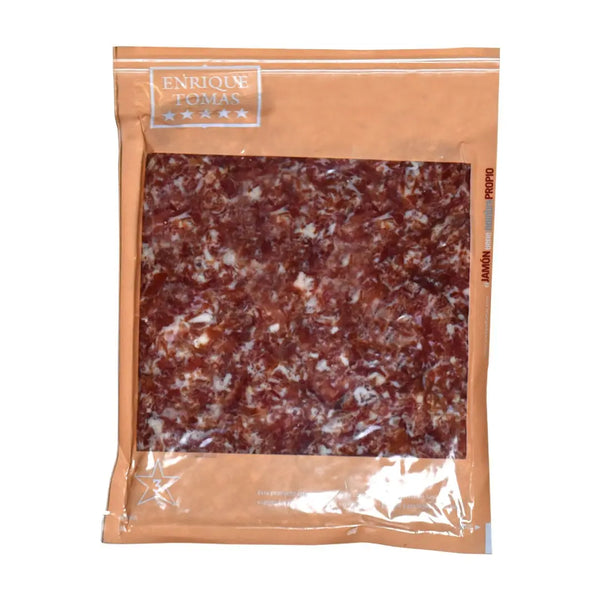
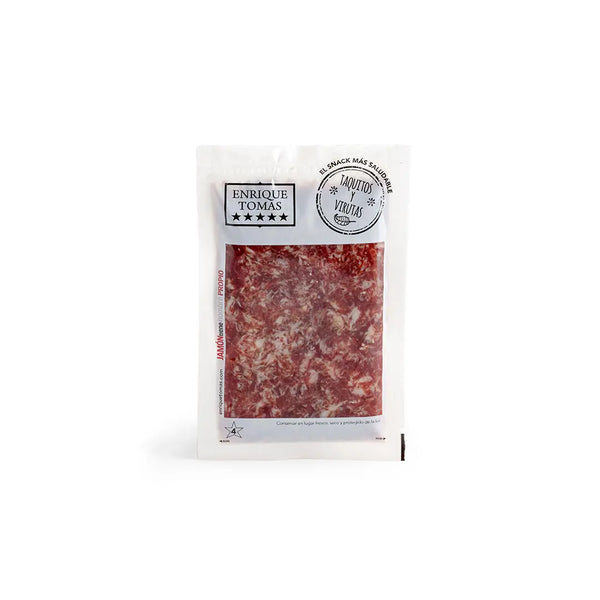
As soon as you can't get more meat from the maza and the "contra maza," turn the ham and finish with the "babilla." When you can no longer cut the ham into slices, you can use a boning knife to extract a different type of ham, either in the form of shavings or cubes. You can use these in countless dishes, and they'll add a delicious touch!
For more information, you can check out:
- "What to Do with Ham Cubes"
- "Recipes Ideas with Ham Shavings".
What if You're Going to Take Time to Eat It?
Now imagine you're facing the opposite scenario. You and your family are fond of ham, but you're a small household, and you want to indulge everyone. So, you choose a whole ham and bring it home.
In this case, how do you position it in the ham holder? As we mentioned before, the closer the meat is to the bone, the faster it cures. Therefore, the "babilla" is more cured than the "maza", so it's advisable to start here to prevent it from becoming less suitable for slicing when you get to it.
So, place your ham in the ham holder with the hoof down, slice the "babilla," and as soon as you're done, turn it to slice the "maza." Since this area is more tender, it will take longer to become tough, giving you a bit more time to enjoy it while maintaining its flavor.
Conclusions on How to Open a Ham
Therefore, how to open a ham depends on how long you expect it to last. If there are many people and it's going to disappear quickly, you can start with the "maza." However, if you're a small household, start with the "babilla."
In the following video, we'll show you how to slice ham step by step at home.
Key Tips for Starting to Slice
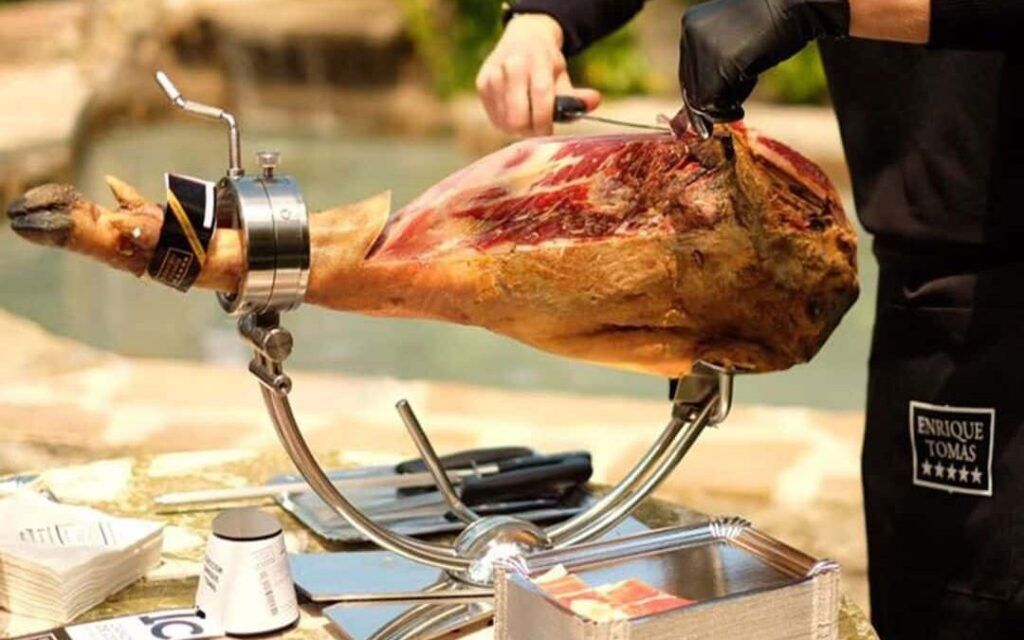
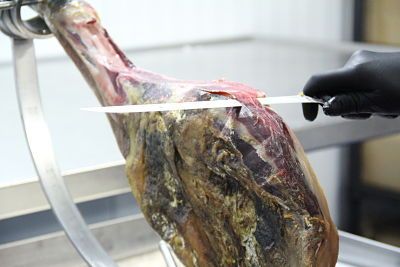
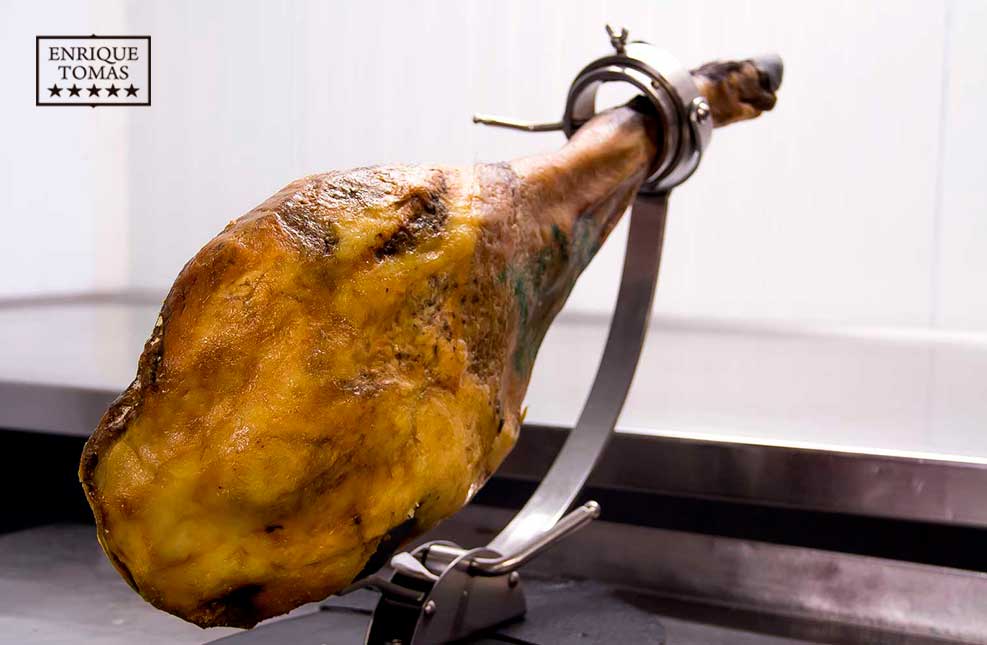
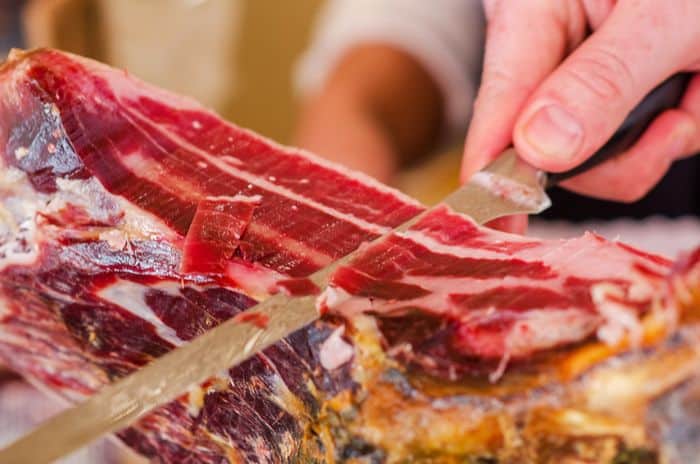
Start by sharpening your ham knife, and if you have a slightly thicker one, use it to remove the rind. And pay attention to this—discard it! Despite what you might hear, it's NOT suitable for covering the ham; once cut, its purpose is fulfilled. So, it's better to get rid of it. Once you have the meat exposed, switch to using the ham knife.
You need to slice gradually in a horizontal direction, starting from the area nearest the hoof and finishing with the part closest to you. Make sure the hand holding the knife is always behind it to avoid cutting yourself. When you become more experienced, you can do it differently if it's more comfortable, but if you're just starting out, it's best to play it safe.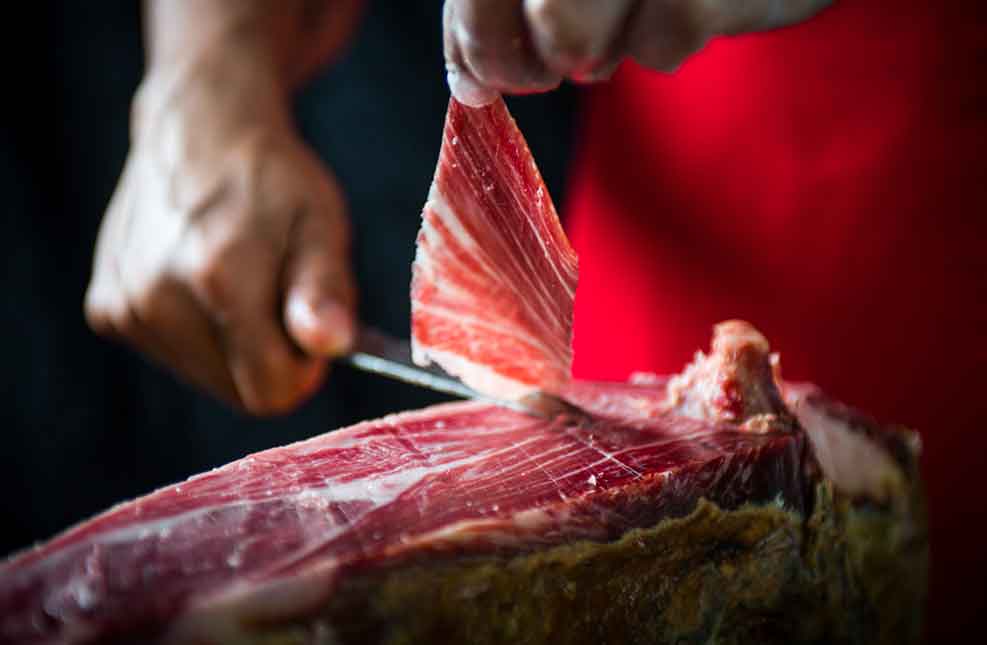
If you still have questions about how to open the ham, check out our post on "Learn to Slice Step by Step" or "How to Slice Ham." Also, keep in mind that if you've never sliced ham before or feel unsure, it's best to start by buying pre-sliced ham in vacuum-sealed packs.
This way, you'll have time to enjoy the sliced ham while learning from the available materials. When you feel ready, you can purchase a whole piece and start slicing.
If you already know how to open and slice the whole piece, all that's left is to buy a good ham and enjoy.